


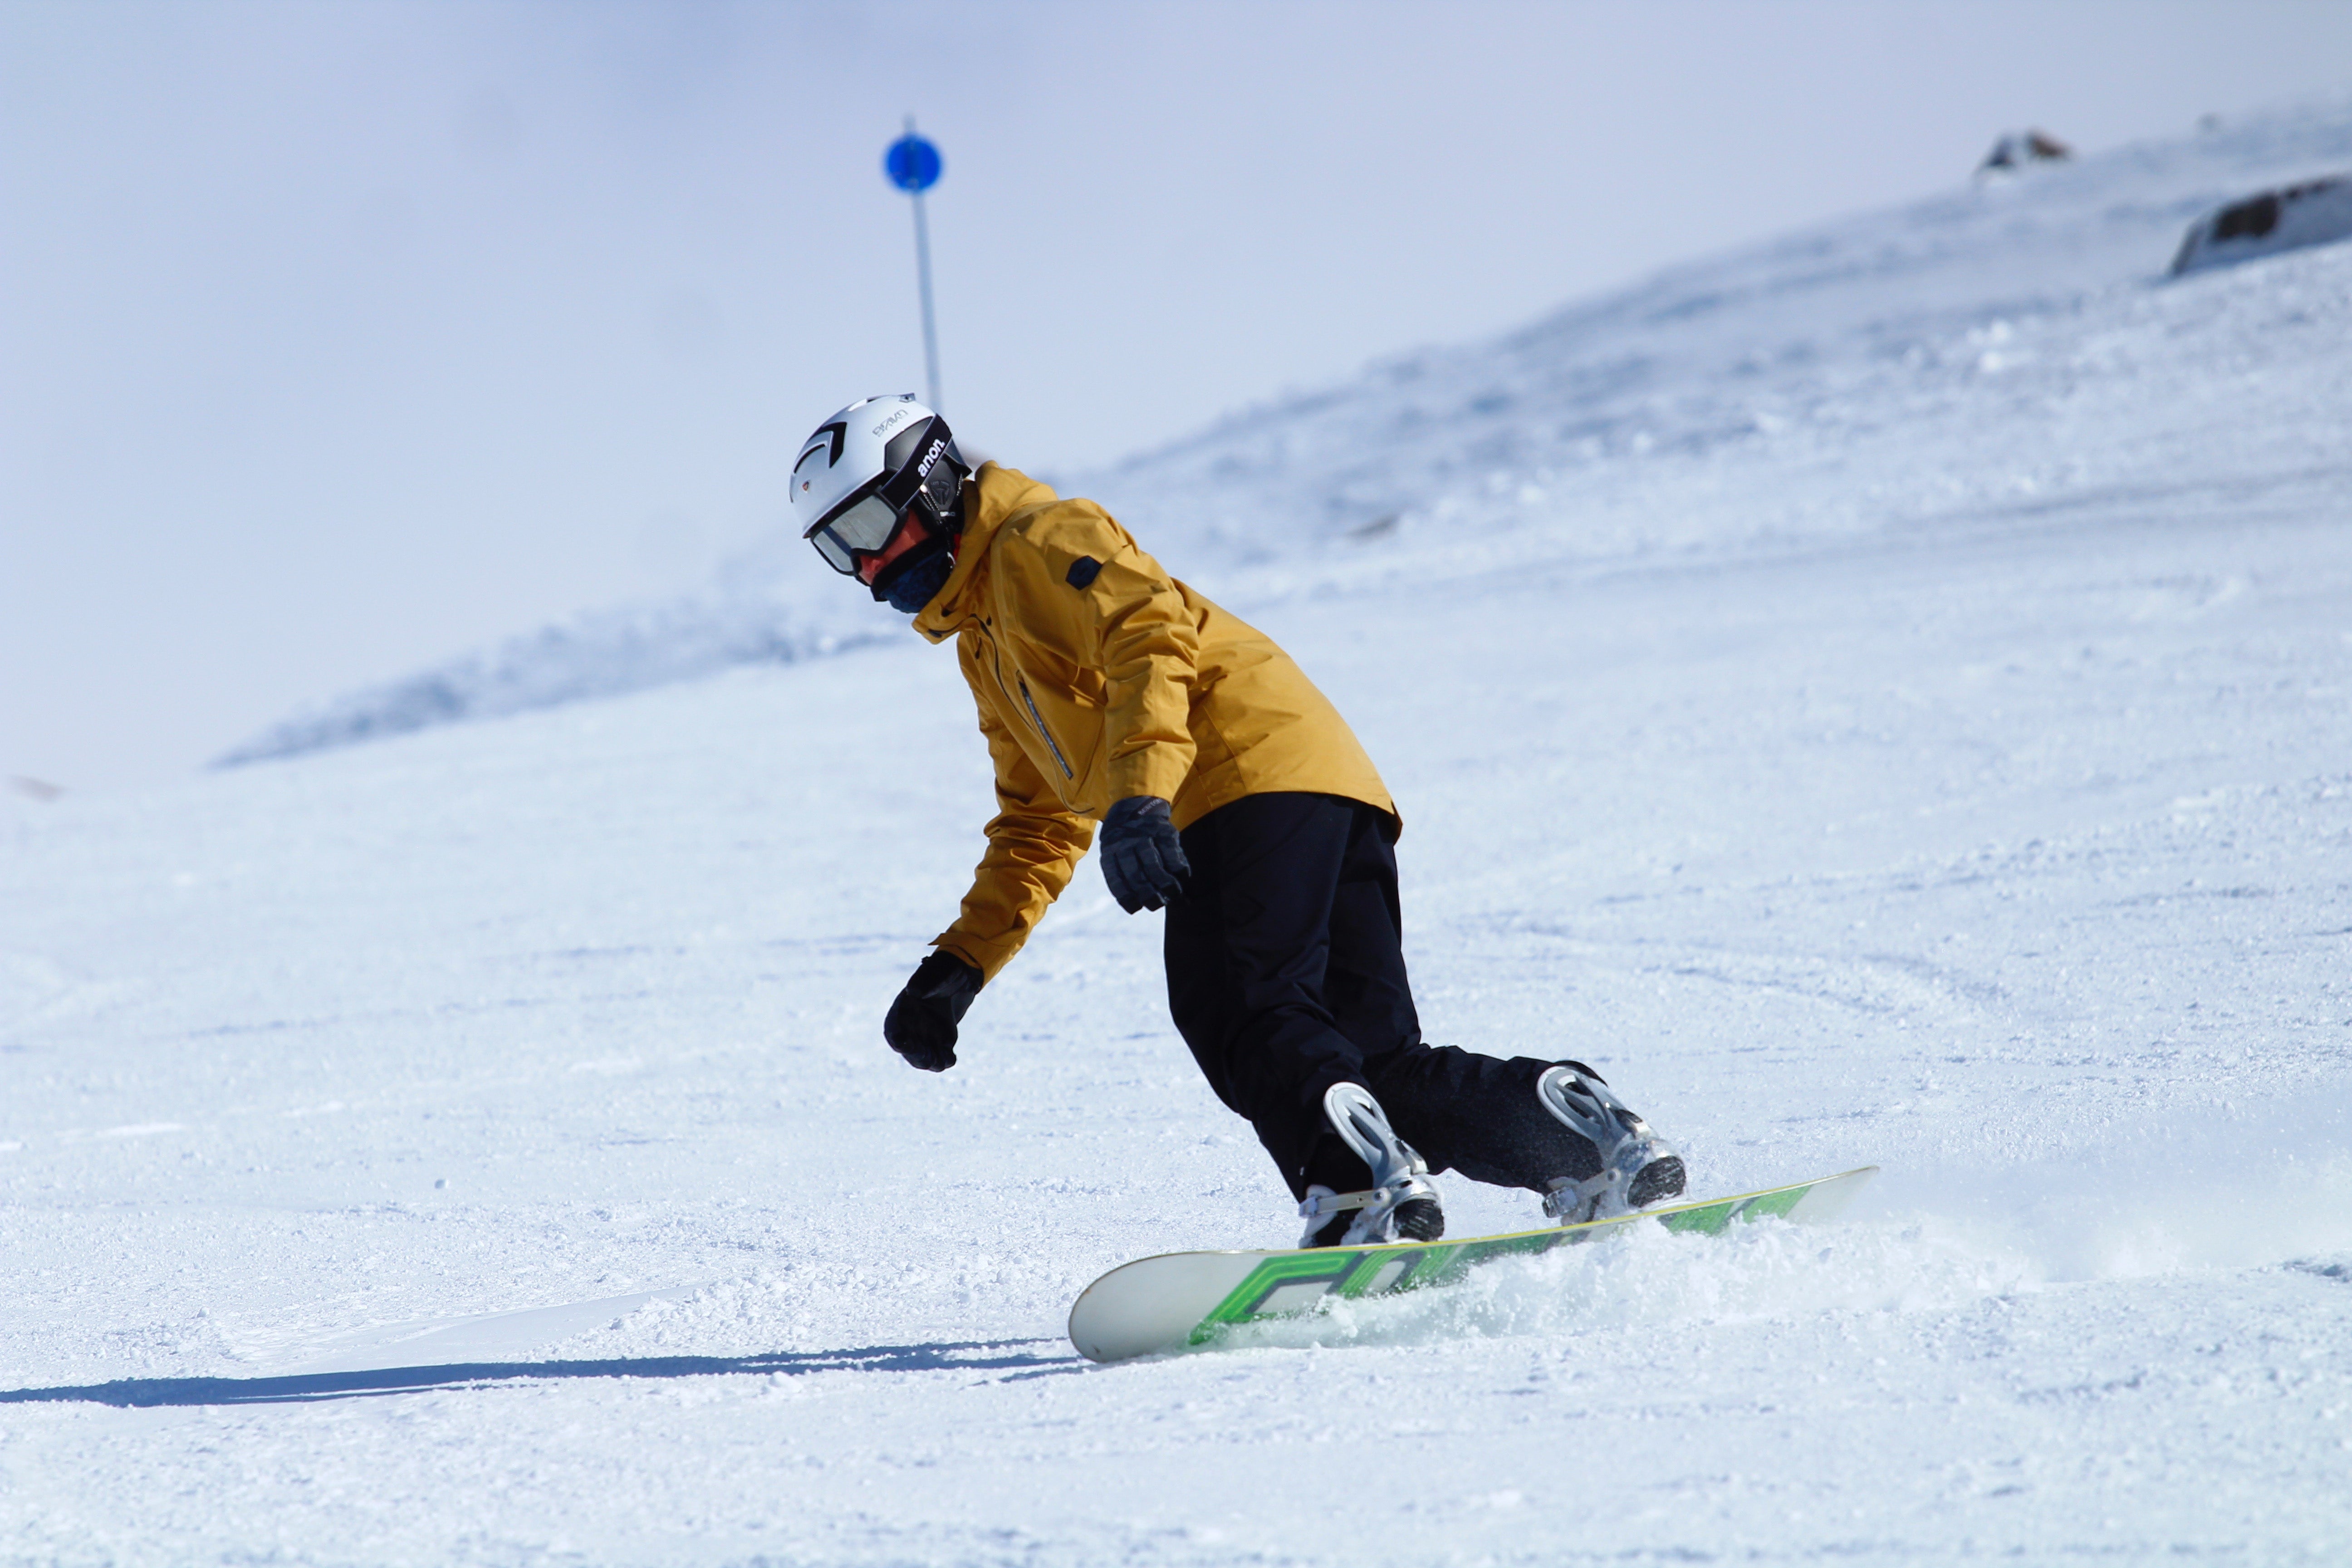
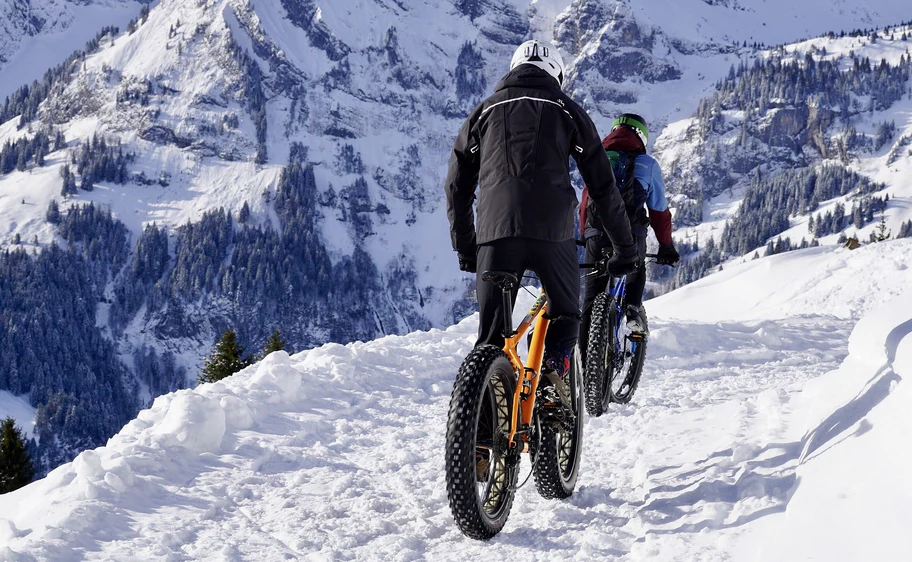
Cold weather is the biggest mental barrier to winter riding—and it’s usually not the cold alone. It’s the combo of cold + wind + sweat that makes riders miserable: you start freezing, layer up too much, then overheat and end up chilled again when you slow down.
This guide is built to solve that problem the practical way: a simple layering system, the right warmth accessories, and realistic outfit templates for common winter temperature ranges. At the end, you’ll find a Winter Warmth Checklist you can save and follow before your next ride.
Table of contents:
Why You Feel Cold (and Then Overheat)
Most riders blame “winter” when what they’re really fighting is wind chill and evaporative cooling. Even at a mild 50°F (10°C), moving air strips heat fast—especially on descents or into headwinds. Then sweat makes it worse: moisture in your base layer pulls heat away from your body when you stop or when intensity drops.
The key principle is counterintuitive but reliable: start slightly cool, then warm up to “just right” after 10–15 minutes. If you feel perfectly warm standing outside before you roll, you’ll probably be too hot once you settle into your pace—and that’s how sweat turns into a cold problem later.
The Three-Layer System for Warmth
Winter warmth is not about stacking random layers. It’s about building a system where each layer has a job:
- Base layer: moves sweat off your skin so you don’t ride in a cold, wet shirt.
- Mid layer: holds warmth and lets you fine-tune insulation for the day’s temperature.
- Outer layer: blocks wind first, blocks rain/snow when needed, and protects the whole system.
When you get this right, you can ride longer, stay drier, and recover faster—because your body isn’t constantly trying to re-heat itself.
Upper Body: Build Warmth Without Trapping Sweat
Base Layers: The Foundation of Warmth
Your base layer should fit close, dry fast, and never be cotton. Cotton holds moisture and chills you the moment the wind hits. If you’re the “I get cold easily” type, it’s worth owning two base options: a lighter one for hard efforts and a warmer one for steady commuting pace.
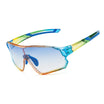
If your winter rides often start around cool-to-mild temperatures (especially when you warm up quickly), a breathable long-sleeve jersey can function as your next-to-skin layer on some days. A good example is a thermal jersey designed for transitional conditions:
Winter Thermal Cycling Jersey (59°F–77°F) — a practical option for riders who want warmth without feeling wrapped in a heavy jacket.

Mid Layers: Your On-the-Fly Temperature Dial
Mid layers are where most riders either win or lose the day. Too thin and you’re shivering when pace drops. Too thick and you sweat early. For commuting, one solid mid layer is usually enough; for longer endurance rides, pick something that stays comfortable across changing intensity.
On windy days, you’ll also feel the difference between “warm fabric” and “warm + wind-resistant fabric.” This is where modern composite materials (and new insulation approaches) make winter riding easier, because you can stay warm without building bulk.
Outer Layers: Block the Wind, Then Think About Rain
Your outer layer’s main job is wind blocking. Rain protection matters too, but many winter days are cold and dry—wind is the real enemy. A wind-resistant shell can make a lighter mid layer feel dramatically warmer.
If you’re looking for a cold-weather outer layer concept that emphasizes warmth retention and wind defense while keeping the ride feel athletic, this is where a graphene-focused winter piece can slot into your system:
Graphene Winter Cycling (New Arrival) — ideal as a “system anchor” on colder days when wind control matters as much as insulation.

Extremities: Hands, Feet, Head (Small Areas, Big Impact)
If you only upgrade a few items for winter, focus here first. Extremities cool faster, and when they’re cold, your whole ride feels harder. Warm hands improve braking confidence. Warm feet improve comfort and cadence. Warm head/neck reduces that “cold air pouring in” feeling through your helmet vents.
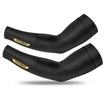
Hands: Warmth That Protects Control
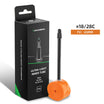
Your hands sit directly in moving air for the entire ride, and cold fingers reduce dexterity when you need it most—shifting, braking, and stabilizing on rough pavement. A sensible approach is to keep two glove levels available: one for cool rides, one for deeper winter.
Graphene Winter Cycling Gloves (5–15°C) — a strong choice when you want warmth and protection without losing bar feel.

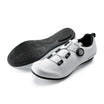
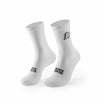
Feet: Socks + Shoe Covers = The Highest ROI Upgrade
Feet often get cold first because airflow hits the toe box and circulation is lower at the extremities. The simplest winter formula is: thermal socks + shoe covers. That combo usually feels warmer than doubling up pants layers—because you stop the cold air at the most exposed point.
Cycling Socks help with warmth and moisture management, especially if you tend to sweat even in winter.
Cycling Shoe Covers are the winter upgrade most riders feel immediately—less wind bite, less splash, more comfort across the ride.
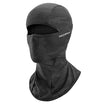
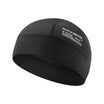
Head & Neck: Keep Heat From Escaping
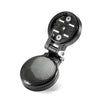
You lose heat quickly through the head and neck, and helmet ventilation can feel like a cold-air tunnel in winter. A helmet liner or fleece balaclava is a simple fix that changes everything—especially on early commutes and windy descents.
Winter Fleece Balaclava Helmet Liner (15°F–50°F) adds warmth without making your helmet fit feel bulky, and it helps reduce that sharp chill across your ears and neck.
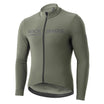
Lower Body: Legs and Core Comfort
Legs generate heat while you pedal, so they often need less insulation than your upper body. The best winter approach is usually wind control + steady warmth rather than stacking too many layers. If you overdress your legs, you’ll sweat early and feel clammy later.
Warm Gaiters / Leg Warmers are especially useful for commuters who want to stay comfortable without packing a full wardrobe change.
Adjusting for Different Cold Levels
Instead of guessing every morning, use a quick temperature template. Treat these as starting points and adjust based on your pace, wind, and whether you run cold or hot.
Near Freezing: 0–5°C / 32–41°F
Upper body: warmer base + insulating mid layer + wind-blocking outer layer.
Hands: Graphene Winter Cycling Gloves.
Head/neck: Winter Fleece Balaclava Helmet Liner.
Feet: Cycling Socks and Shoe Covers.
Cold but Not Extreme: 5–10°C / 41–50°F
Upper body: Winter Thermal Cycling Jersey.
Hands: Winter Gloves Collection.
Feet: Socks + Shoe Covers.
Cool Mornings: 10–15°C / 50–59°F
Upper body: Winter Thermal Cycling Jersey.
Hands: Graphene Winter Cycling Gloves.
Head/neck: Helmet Liner.
Build your winter warmth kit: Graphene Winter Gear | Winter Gloves | Shoe Covers
Winter Warmth Checklist: From Head to Toe
Save this checklist and use it before you roll out. Most winter discomfort comes from missing one or two small pieces—usually hands, feet, or head/neck.
Head & Neck
- □ Helmet liner / winter cap with ear coverage
- □ Balaclava or neck coverage for wind
- □ Winter Fleece Balaclava Helmet Liner
Upper Body
- □ Thermal base layer (choose thickness by intensity)
- □ Insulating mid layer for the day’s temp
- □ Windproof outer layer (rain protection if needed)
- □ Winter Thermal Cycling Jersey and Graphene Winter Cycling
Hands
- □ Two-level glove plan (one mild, one colder)
- □ Grip and dexterity for braking and shifting
- □ Graphene Winter Cycling Gloves (5–15°C)
- □ Winter Gloves Collection
Lower Body
- □ Thermal tights / winter bibs (or shorts + leg warmers)
- □ Warm Gaiters / Leg Warmers
Feet
Warm Enough to Look Forward to Every Ride
Once you dial in the right warmth system, winter stops being something you “survive” and starts becoming a season you can ride through confidently. The biggest breakthroughs usually come from small upgrades—gloves, shoe covers, and helmet liners—because they remove the pain points that make riders quit early.
If you’re building a smarter winter kit this year, start with one problem area (hands, feet, or head/neck), then complete the rest of your system so you stay warm without trapping sweat.
Explore Graphene Winter Gear →
Upgrade Your Winter Gloves →
Stay Warmer With Shoe Covers →


Leave a comment
This site is protected by hCaptcha and the hCaptcha Privacy Policy and Terms of Service apply.