
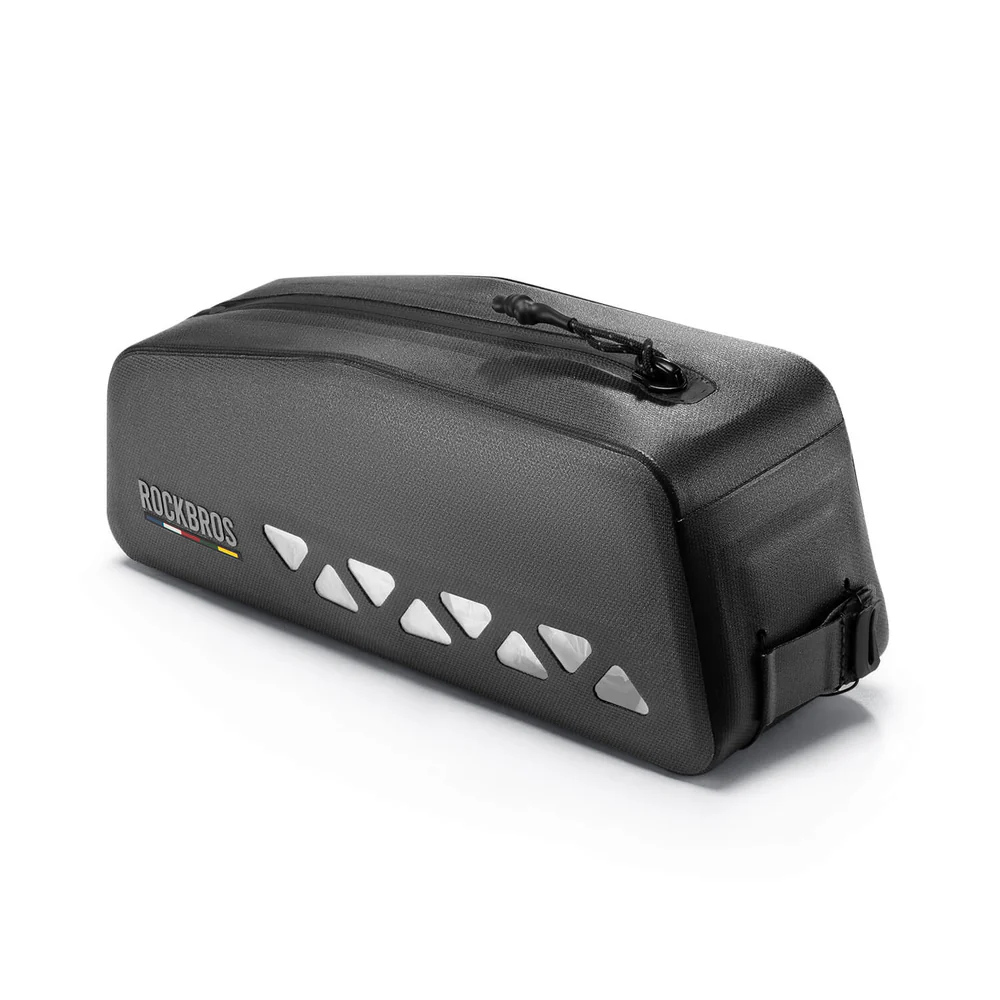




A bike saddle bag is one of the easiest ways to carry repair essentials without stuffing your jersey pockets or adding a larger bag to your bike. It sits under the saddle, stays out of the way while you ride, and gives you a simple place to carry a spare tube, tire levers, a multi tool, a patch kit, and other small items.
But the bag only works well when it is attached correctly. If the straps are loose, wrapped the wrong way, or not tightened around the saddle rails and seat post, the bag can swing, rattle, sag toward the rear tire, or brush against your legs while pedaling.
This guide explains how to attach a bike saddle bag the right way, how to check the fit, and how to fix common problems before your next ride.
Quick Answer: How Do You Attach a Bike Saddle Bag?
To attach a bike saddle bag, place the bag under the saddle, wrap the upper straps around the saddle rails, secure the stabilizing strap around the seat post, and cinch all straps tightly. The bag should sit centered under the saddle, close to the rails, and clear of the rear tire.
After putting the bag on the bike, shake it lightly by hand. If it swings, sags, or feels loose, adjust the straps before riding.
What Is a Bike Saddle Bag?
A saddle bag, also called a seat bag, is a small storage bag that mounts under the bike saddle. Most saddle bags attach to the saddle rails and seat post with Velcro straps, webbing straps, buckles, clips, or a quick-release mount.
For most riders, the purpose is simple: carry the essentials needed to fix a common roadside problem. A typical saddle bag setup may include:
-
Spare tube
-
Tire levers
-
Small multi tool
-
Patch kit
-
CO2 inflator or mini pump
-
Chain quick link
-
Small ID or emergency cash
A saddle bag works best when it is packed light and mounted tightly. If you need to carry clothing, snacks, a phone, a camera, or larger daily items, a handlebar bag, frame bag, or rear rack bag may be a better fit.
Before You Start: Check the Fit
Before attaching the saddle bag, check whether the bag fits your bike setup. Many saddle bag problems come from poor fit, not just loose straps.
Check the Saddle Rails
The saddle rails are the two bars under your saddle. Most seat bag straps wrap around these rails to hold the top of the bag in place.
Make sure there is enough room for the straps to pass cleanly around the rails. Some saddles have a tight design, especially lightweight road bike saddles, so you may need to angle the straps carefully. Do not force a strap or mount that does not fit the rail shape.
Check the Seat Post
The seat post strap helps stop the bag from swinging. It usually wraps around the seat post near the front of the bag.
You need enough exposed seat post for the strap to sit flat. If your bike has a small frame, low saddle height, or very little seat post showing, a large saddle bag may hang too low or feel unstable.
Check Rear Tire Clearance
Hold the empty bag under the saddle and look at the space between the bottom of the bag and the rear tire. There should be enough clearance for bumps, road vibration, and normal tire movement.
If the bag already sits close to the rear tire when empty, it will likely sag more after you add a spare tube, multi tool, and other gear.
Check the Mounting Design
Different saddle bags use different mounting systems. Some use Velcro straps. Others use buckles, clips, bolts, or a plastic quick-release mount.
If your bag uses a mount, check that it lines up with the saddle rails before tightening any bolts. If you are following a video or pic online, make sure the bag design matches yours. A strap route that works for one kind of bag may be wrong for another.
How to Attach a Bike Saddle Bag Step by Step
The exact setup can vary by bag design, but most saddle bags follow the same basic process.
Step 1: Empty the Bag First
Start with an empty saddle bag. It is easier to position, center, and tighten when there is no weight inside.
If the bag is already packed with a spare tube, multi tool, and other gear, the weight can pull it out of shape while you are attaching it. Mount the empty bag first, then pack it after the straps are secure.
Step 2: Position the Bag Under the Saddle
Hold the bag directly under the saddle. In most designs, the narrow end points toward the seat post and the wider end points toward the rear of the bike.
The top of the bag should sit close to the underside of the saddle. It should not hang low or lean to one side.
Stand behind the bike and check the alignment. The bag should be centered between the saddle rails. If it starts crooked, tightening the straps will usually make the problem worse.
Step 3: Wrap the Upper Straps Around the Saddle Rails
Take the main upper straps and wrap them around the saddle rails. Tighten both sides gradually instead of pulling one side fully tight first.
This helps keep the saddle bag centered. If one strap is much tighter than the other, the bag can twist under the saddle.
For Velcro straps, press the full Velcro surface together, not just the end. For buckle straps, confirm the strap is threaded correctly before pulling it tight.
The goal is to hold the top of the bag firmly against the saddle rails without twisting the bag.
Step 4: Secure the Seat Post Strap
Next, wrap the stabilizing strap around the seat post. This strap helps keep the saddle bag from swinging forward, backward, or side to side.
Pull it snug, but do not crush cables, scratch the seat post, or force the bag into an odd angle. The strap should help the bag sit close to the seat post while staying level under the saddle.
If the bag tilts sharply upward or downward, loosen the seat post strap, adjust the position, and tighten it again.
Step 5: Cinch Everything Tightly
Once the saddle rail straps and seat post strap are in place, cinch everything tightly. Hold the bag with one hand and pull each strap with the other.
A properly attached saddle bag should feel stable when you push it by hand. A little fabric movement is normal, but the bag should not swing, slide, or shift around the rails.
After tightening, tuck away loose strap ends. Loose straps can flap in the wind, rub your shorts, or move too close to the rear wheel.
Step 6: Pack the Bag
Now put your essentials inside the bag. Place heavier items, such as a spare tube or multi tool, near the center or bottom of the bag.
Keep small items organized so they do not rattle or shift. You can wrap the tube with a rubber band, use a small pouch for tools, or use the internal pocket if the bag has one.
Do not overpack the bag. If you have to force the zipper closed, the bag may bulge, sag, or pull against the straps.
Step 7: Check the Bag After Loading
After packing the bag, check it again from the side and rear.
Make sure:
-
The bag is centered.
-
The straps are tight.
-
The seat post strap is secure.
-
No loose strap ends are hanging.
-
The bag does not touch the rear tire.
-
Your legs do not brush the bag while pedaling.
Then lift the rear of the bike slightly and bounce the rear wheel a few times. If the bag shifts or sags, tighten or reposition it before riding.
Why Does a Saddle Bag Come Loose?
A loose saddle bag is one of the most common problems riders notice after putting one on the bike. The answer is usually simple: the bag is not supported evenly, or the load is too much for the bag size.
The Saddle Rail Straps Are Not Tight Enough
The saddle rails carry most of the bag’s weight. If those straps are loose, the bag will swing no matter how tight the seat post strap feels.
To fix it, loosen the bag, center it again, and tighten both rail straps evenly.
The Seat Post Strap Is Too Loose
The seat post strap controls side-to-side movement. If it is not snug, the bag may sway over bumps or while pedaling out of the saddle.
Wrap the strap flat around the seat post and cinch it until the bag feels stable.
The Bag Is Overpacked
A small saddle bag is not designed to carry everything. Too much weight can pull the bag down and make the straps harder to hold tightly.
If the bag keeps sagging, remove non-essential items. Keep repair gear in the saddle bag and move snacks, clothing, or larger items to another storage option.
The Bag Is the Wrong Size for the Bike
Sometimes the problem is not the straps. It is the fit.
If your bike has limited seat post clearance, a large saddle bag may sit too low. If the rear tire is close to the saddle, even a tightly mounted bag can rub. In this case, a smaller bag or different storage setup may be the right fix.
Common Mistakes When Attaching a Saddle Bag
Mistake 1: Wrapping the Straps Around the Wrong Part of the Saddle
The main straps should usually wrap around the saddle rails, not random parts of the saddle shell. If the straps are routed wrong, they may not hold the bag securely.
Mistake 2: Forgetting the Seat Post Strap
Some riders tighten only the upper straps and skip the seat post strap. The bag may seem secure at first, but it can swing once the bike is moving.
Mistake 3: Leaving Strap Ends Loose
Loose strap ends can flap, rub, or move toward the wheel. Always tuck or secure extra strap length.
Mistake 4: Mounting the Bag Too Low
A bag mounted too low is more likely to rub the rear tire. Keep it close to the saddle and check clearance after loading.
Mistake 5: Overloading the Bag
A seat bag is best for compact repair gear. If you pack too much, the bag may bounce, sag, or wear faster.
Strap Mount vs. Clip Mount
Most saddle bags use either a strap mount or a clip mount.
A strap-mounted saddle bag uses Velcro or webbing straps to wrap around the saddle rails and seat post. This type is common because it is easy to install, easy to adjust, and works with many bikes.
A clip-mounted saddle bag uses a bracket that attaches under the saddle. The bag slides or clicks into the bracket. This can be convenient if you remove the bag often, but the mount must fit your saddle rails correctly. Some mounts may also use small bolts that need to be tightened before riding.
Neither system is automatically better for every rider. The right choice depends on your bike, your saddle design, how often you remove the bag, and what kind of gear you carry.
What Should You Carry in a Saddle Bag?
A saddle bag should carry the items you need for basic roadside repair. For most rides, that means:
-
One spare tube
-
Tire levers
-
Small multi tool
-
Patch kit
-
CO2 inflator or mini pump
-
Chain quick link
-
Small ID or emergency cash
Pack the bag so the contents do not shift. A loose multi tool can rattle. A loose tube can rub against other items. Keeping everything compact helps the bag hold its shape and stay secure under the saddle.
For longer rides, you may want more gear, but avoid turning a small saddle bag into a catch-all storage bag. If you need more space, use a larger bike bag instead of forcing everything into one small seat bag.
How Tight Should a Saddle Bag Be?
A saddle bag should be tight enough that it does not swing, bounce, or rub the rear tire. You should be able to push it with your hand without the whole bag sliding around the saddle rails.
At the same time, do not pull so hard that you damage the straps, crush the bag, or bend the mount. Tight means secure, not forced.
After your first ride, check the straps again. Fabric straps and Velcro can settle slightly after weight is added. A quick re-tightening can prevent the bag from becoming loose later.
Best Way to Keep a Saddle Bag Secure
The best way to keep a saddle bag secure is to combine correct mounting with smart packing.
Use the saddle rails as the main support. Use the seat post strap for stability. Keep heavy items centered. Tuck loose straps. Avoid overpacking. Check rear tire clearance after the bag is loaded.
A simple rule: if the bag moves when you shake it by hand, it will move more when you ride. Fix the problem before you leave.
When a Saddle Bag May Not Work Well
A saddle bag is useful for many riders, but it is not always the right fit.
You may need another storage option if:
-
Your bike has very little exposed seat post.
-
The rear tire sits close to the saddle.
-
You use a dropper post.
-
Your saddle rails do not fit the bag mount.
-
You need to carry more than basic repair gear.
-
The bag still feels loose after proper tightening.
In those cases, a frame bag, handlebar bag, or top tube bag may work better.
Final Pre-Ride Check
Before each ride, take a few seconds to check the saddle bag.
Make sure the straps are tight, the bag is centered, the zipper is closed, and nothing is loose. Look at the rear tire clearance and confirm that no strap ends are hanging near the wheel.
Learning how to attach a bike saddle bag correctly only takes a few minutes, but it makes a big difference. A properly mounted saddle bag should stay quiet, hold your essentials, and stay out of the way while you ride.
FAQ
How do you attach a saddle bag to saddle rails?
Position the saddle bag under the saddle, then wrap the upper straps around the saddle rails. Tighten both sides evenly so the bag stays centered. After that, secure the seat post strap to reduce side-to-side movement.
Why does my saddle bag keep coming loose?
Your saddle bag may come loose if the saddle rail straps are not tight enough, the seat post strap is loose, the bag is overpacked, or the bag does not fit your bike properly. Recenter the bag, cinch the straps tightly, and check rear tire clearance.
Should a saddle bag attach to the seat post?
Most saddle bags use a seat post strap for extra stability. The main support usually comes from the saddle rails, while the seat post strap helps keep the bag from swinging.
How much clearance should a saddle bag have above the rear tire?
The bag should not touch the rear tire at any point. Leave enough clearance for bumps, road vibration, and normal tire movement. If the bag sits close to the tire when loaded, use a smaller bag or reduce the load.
What is the best way to pack a saddle bag?
Pack heavier items like a spare tube and multi tool near the center or bottom of the bag. Keep small items organized so they do not rattle or shift. Avoid overpacking, because extra weight can make the bag sag or loosen.


Leave a comment
This site is protected by hCaptcha and the hCaptcha Privacy Policy and Terms of Service apply.