


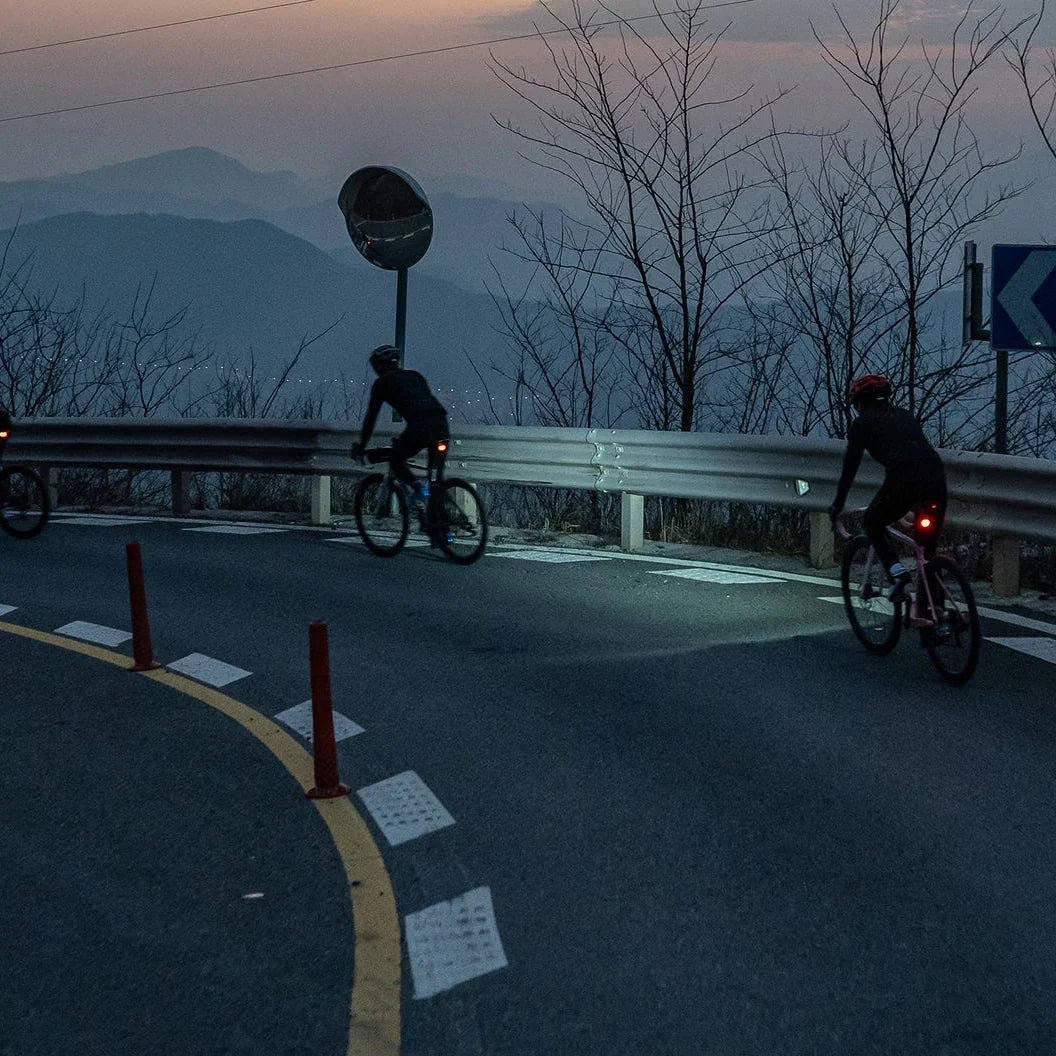
A 600-lumen front light may suit your daily commute. An unlit country road calls for more attention to beam reach, while a technical trail demands enough coverage to pick a line through corners and obstacles.
The right choice depends on where you ride, how fast you travel, and how long you need the light to last. Lumens help narrow the options, but beam shape and usable runtime matter just as much.
Here’s how to choose—and which ROCKBROS front lights to consider for different rides.
Do you need to see the road, or help others see you?
On well-lit streets, a front light mainly helps other road users notice you. Side visibility, sensible brightness settings, and convenient mounting can matter more than maximum output.
On an unlit road, your light must reveal potholes, debris, and changes in the pavement early enough for you to react.
Off-road, you also need to see the edges of the trail and spot possible lines through turns. A bright central spot alone may leave too much of the surrounding terrain in darkness. Start with your riding conditions, as Knog’s bike light buying guide recommends.
Use these figures as starting points when comparing lights:
| Riding conditions | Approximate output to consider | What to prioritize |
|---|---|---|
| Well-lit city streets | Around 400–600 lumens for some road illumination | Visibility, lower settings, everyday convenience |
| Unlit paved roads | Around 700–1,000 lumens and up | Useful reach, controlled beam, steady-mode runtime |
| Gravel and straightforward off-road routes | Around 1,000 lumens and up | Beam width, surface detail, secure mounting |
| Technical mountain bike trails | Around 1,400 lumens and up | Near and distant coverage, sustained output, backup lighting |
These are shopping guidelines rather than fixed thresholds. You may need less output when streetlights already illuminate the road, or more coverage on fast, unfamiliar routes. A well-shaped beam can also make better use of its output than a poorly controlled light with a higher lumen rating.
For everyday commuting: ROCKBROS RHL 600LM
If most of your route follows lit streets, with occasional darker sections, the ROCKBROS RHL 600LM USB-C is a reasonable place to start.
ROCKBROS lists a 600-lumen output, a 2,600mAh battery, multiple lighting modes, USB-C charging, and an IPX6 water-resistance rating. Its quick-release mount is useful if you regularly remove your light when parking or take it indoors to charge. View the RHL 600LM.
Choose a setting suited to the surroundings rather than running maximum brightness everywhere. If your commute includes long stretches without streetlights, check whether the beam and runtime meet those sections’ demands before buying.
For road rides after dark: ROCKBROS M6 1000LM
For routes that alternate between town streets and unlit roads, the ROCKBROS M6 1000LM Digital Display is worth a closer look.
Its listed features include a 200–1,000-lumen output range, a cut-off optical lens, a battery and mode display, a 2,800mAh battery, and USB-C charging. Those features make it a candidate for riders who want controlled road illumination and an easy way to check battery status. View the M6 1000LM.
A cut-off lens helps control light directed upward, but mounting angle still matters. Aim the light according to its instructions and check the beam after installation.
On the road, the useful question is whether you can identify a hazard with enough time to respond. A distant bright spot tells you little if the pavement between you and that spot remains difficult to read.
For changing conditions and convenient controls: ROCKBROS M8
When a ride moves between bright streets and darker connecting roads, easy access to the controls becomes useful.
The ROCKBROS M8 1600LM Remote Digital Display offers a wireless remote, adjustable high and low beams, a digital display, and a 4,000mAh battery. However, its product page also describes a six-second 1,600-lumen boost. Don’t assume the headline figure represents continuous output throughout a ride; confirm the steady-mode outputs and their runtimes. View the M8.
The remote and mode controls are reasons to consider this model. Its suitability for your route still depends on the illumination available in the setting you’ll actually use.
For higher-output off-road needs: ROCKBROS RHL 3000LM
On dark trails, you need enough light to read the surface and understand where the route goes next. The ROCKBROS RHL 3000LM USB-C is a higher-output option to investigate.
ROCKBROS lists 3,000 lumens, a 10,000mAh battery, multiple lighting modes, and an IPX6 rating. Check the mounting version carefully: the product page states that the hanging version requires an extension bracket sold separately. View the RHL 3000LM.
The output figure alone doesn’t establish how well it will work on technical singletrack. Before choosing it for that job, look for beam images and confirm sustained output and runtime. You need useful light across the trail, including corners and nearby obstacles, throughout the ride.
Three details to check before buying
1. Look at the beam pattern
For road riding, look for useful forward illumination with controlled upward spill. For trails, consider how the light balances reach with coverage closer to the bike and toward the sides.
A narrow beam may reach far while leaving corners difficult to read. A very broad beam may illuminate nearby ground without providing the distance you need. British Cycling’s buying advice also emphasizes looking beyond lumen ratings to beam shape.
2. Match runtime to your usual setting
Maximum brightness and maximum runtime generally refer to different modes. For a two-hour night ride, check the runtime at the output you need, allowing extra capacity for delays or a longer route home.
Battery capacity alone won’t tell you how long a light maintains a particular brightness. Check whether the stated output is continuous, a short boost, or subject to automatic reductions.
3. Check the mount and aim
A light needs to stay in position over rough pavement or trail chatter. Confirm that the mount fits your handlebar and works with your cables, computer, and bags.
After installation, check the beam in a safe location and follow the aiming instructions. Recheck the angle if the light moves after a bump. If you can’t read the road far enough ahead to react comfortably, reduce your speed.
Choose around the darkest part of your regular route
For a mainly urban commute, start by considering the RHL 600LM. For regular unlit road riding, examine the M6 1000LM, particularly its beam control and steady-mode runtime. If convenient remote operation matters, consider the M8, while checking its continuous output separately from boost mode. For higher-output off-road requirements, investigate the RHL 3000LM and its beam coverage.
Browse the ROCKBROS bike light collection to compare these options. Choose the light that gives you useful illumination for the full ride, with controls and mounting that suit your bike.

Dejar un comentario
Este sitio está protegido por hCaptcha y se aplican la Política de privacidad de hCaptcha y los Términos del servicio.